How to Make a Bar Table
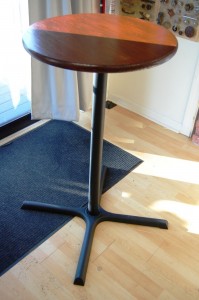
Bar & bistro tables are compact, tall space savers. Place them in a room for that cool pub ambiance or corner bistro look. These tables can add some hip style to any room with the right accessories. We built a classic tall bar table with basic supplies and the result looks amazing.
What you will need:
- A Table Top
- A Table Base
- Finishing Products (Stain, Paint, Paint Brush, etc.)
- Rag
- Gloves
- Blanket or Sheet
- Tape Measure
- Pencil
- 1/16" Drill Bit
- Flathead and Phillips-Head Bits
- Electric Drill
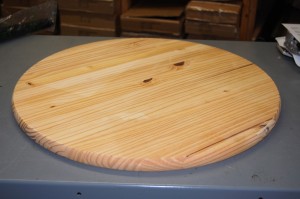
For our bar table we decided to go with a 24", hardwood, round table top. You can get pre-cut table tops from us or your local home improvement store.
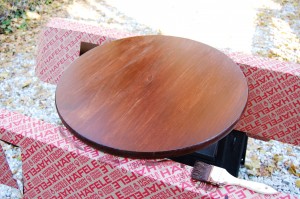
We wanted to achieve a classic look for our table, something reminiscent of what you would see in an old-world pub or an upscale bar. We decided on a dark chestnut wood stain. There are a number of other ways you could finish your table top. Painting your table top with a custom color to match your room is a great option. Whatever finish you choose, make sure to keep in mind the color and style of your seating.
In our example, when working with stain, there are a few things you need to know. First you will want to wipe down the table top with a damp rag, as there is most likely some sawdust still on the surface. Next, make sure that you are working in a well-ventilated area. You may also want to use gloves as wood stain will also stain hands. Lastly, apply the stain in smooth strokes in-line with the wood grain for the best result. Most stains will look best with two coats.
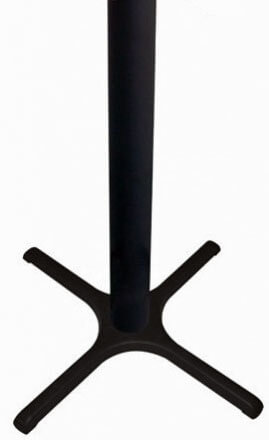
The next step is to choose your table base. There are many different builds and styles of table bases. To help you choose a table base check out: How to Choose a Table Base. We chose a cast iron X-base in a matte black finish for a traditional look.
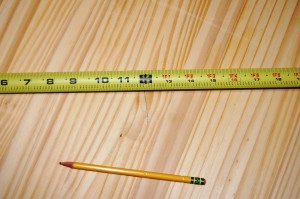
Before you mount your table base to your table top you will want to clear a space to work in. In order to protect the surface of your table top, lay down a blanket or sheet. Place your table top face down on the blanket. First, you will need to find the center point of your table top. This can be done by measuring the diameter of the table top and marking at half the diameter. To do this, lay your tape measure at the widest point of the table top and mark the halfway point.
Then, place your tape measure at a 90 degree angle to where you first laid your tape measure and once again mark the halfway point.
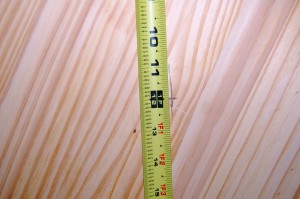
You will now have an X marking the center point of the table top. If your mounting plate has a hole and allows you to see your mark you can skip the next step.
If you can't see the mark (as in the case of our example), or your mounting plate is welded to the column, you will need to measure the width of your mounting plate. Divide that measurement in half and mark that distance from your center point on either side. Now do the same for the height of the plate.
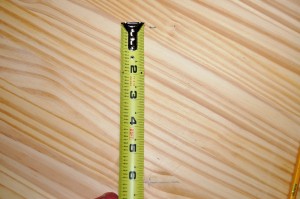
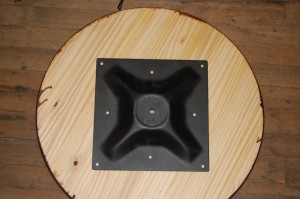
You will now have the markings to place your mounting plate in the exact center of your table top. Line up the edges of your mounting plate with your markings.
If your table base is a welded construction you will need to balance the base on top of the table top. You can also place the table top on your mounting plate and complete the next steps from underneath if you prefer. Take your drill with 1/16" drill bit and drill 1/4" deep guide holes.
If the screws are not provided or they are too long for the thickness of your table top, head to your local home improvement store and pick up the appropriate length screw. Most mounting plates will fit either #9 or #10 screws. If your base is a thru-bolted assembly, attach your column to the mounting plate before attaching your table. Attach leveler feet if required. Test your table for any wobbling to make sure it is level, and adjust your levelers to compensate. Use your screw driver to attach the table top. There you have it! Your very own pub style table
Author: Brad Leverrett

